

New Van Build Considerations: How to Plan a Custom Overland Van Build the Right Way
Planning a camper van build is exciting but it’s also where costly mistakes can happen. From choosing the wrong platform to underestimating power needs or overbuilding with heavy materials, a lack of planning can turn a dream van into a headache.
We’ve developed this van build planning checklist to help you think through every major decision before the build starts, whether you’re working with a professional van builder like White River Overland or planning a phased DIY camper van conversion. If you’re researching Sprinter van builds, Ford Transit camper vans, Ram Promaster conversions, or any other camper vans, this guide will help you design a van that truly fits your lifestyle and future needs.
To make your life even easier, we’ve created the PDF here for you to save as you kick off your van building process.
1. Define Your Use Case First
Every successful camper van build starts with one foundational question: How will I actually use this van? At White River Overland, this is where every project begins long before layouts, materials, or accessories are selected.
Before moving forward, we work with clients to clearly define:
Weekend warrior trips vs full-time or extended travel
Solo travel, couples, families, or pet-friendly layouts
Work + play needs, such as mobile offices, catering setups, or photography rigs
Seasonal priorities, from winter ski access to summer road trips and shoulder-season versatility
This is critical because your intended use directly informs interior layout, storage solutions, electrical system sizing, and climate control strategy. A van designed for weekend mountain travel in Colorado will look very different from a full-time road-trip or work-focused build.
We’ve seen firsthand that vans built without a clearly defined purpose often require major revisions after a season or two of real-world use. By starting with lifestyle planning and pairing it with our experience in custom van builds, modular storage systems, and professionally engineered electrical solutions, we help clients avoid costly rebuilds and end up with vans that work better for you.
2. Choose the Right Van Platform
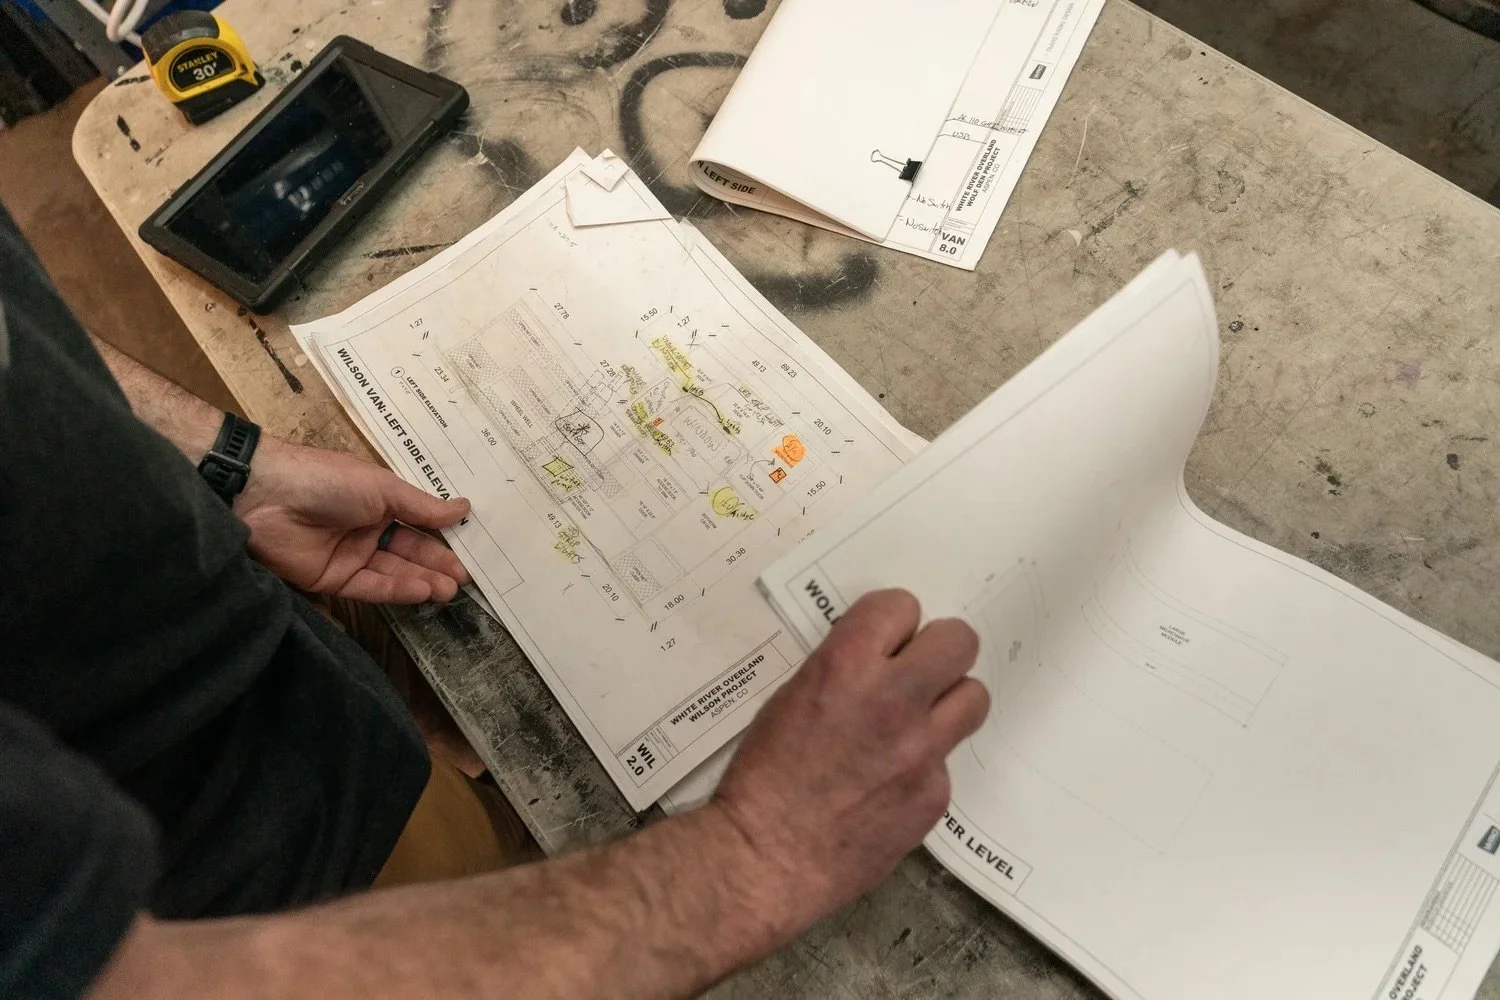
The van platform you choose sets the foundation for your entire build and it’s one of the most important decisions you’ll make. At White River Overland, we help clients evaluate platforms early so the vehicle supports their long-term goals, not limits them.
Key factors we walk through include:
Sprinter vs Ford Transit vs ProMaster, based on drivetrain options, interior dimensions, and serviceability
AWD or 4x4 vs rear-wheel drive, depending on terrain, weather, and seasonal travel plans
Roof height (low, mid, or high roof) and how it affects interior layout, standing room, and storage
Wheelbase length and cargo volume, which dictate bed orientation, cabinetry options, and gear access
Payload capacity after conversion, including electrical systems, cabinetry, water, gear, and passengers
One of the most common issues we see in poorly planned builds is overbuilding beyond the van’s payload rating. Excess weight impacts handling, braking, suspension wear, and long-term reliability especially in mountain and off-road environments.
A well-planned camper van build balances comfort, capability, and weight, using materials, layouts, and systems designed specifically for vehicle use. Our approach focuses on building vans that are enjoyable to drive, safe to operate, and durable for years of real-world travel.
If you’re unsure which platform makes the most sense for your intended use, reach out to our team before you start building. Choosing the right van upfront is a critical step and one that’s far easier to get right with experienced guidance.
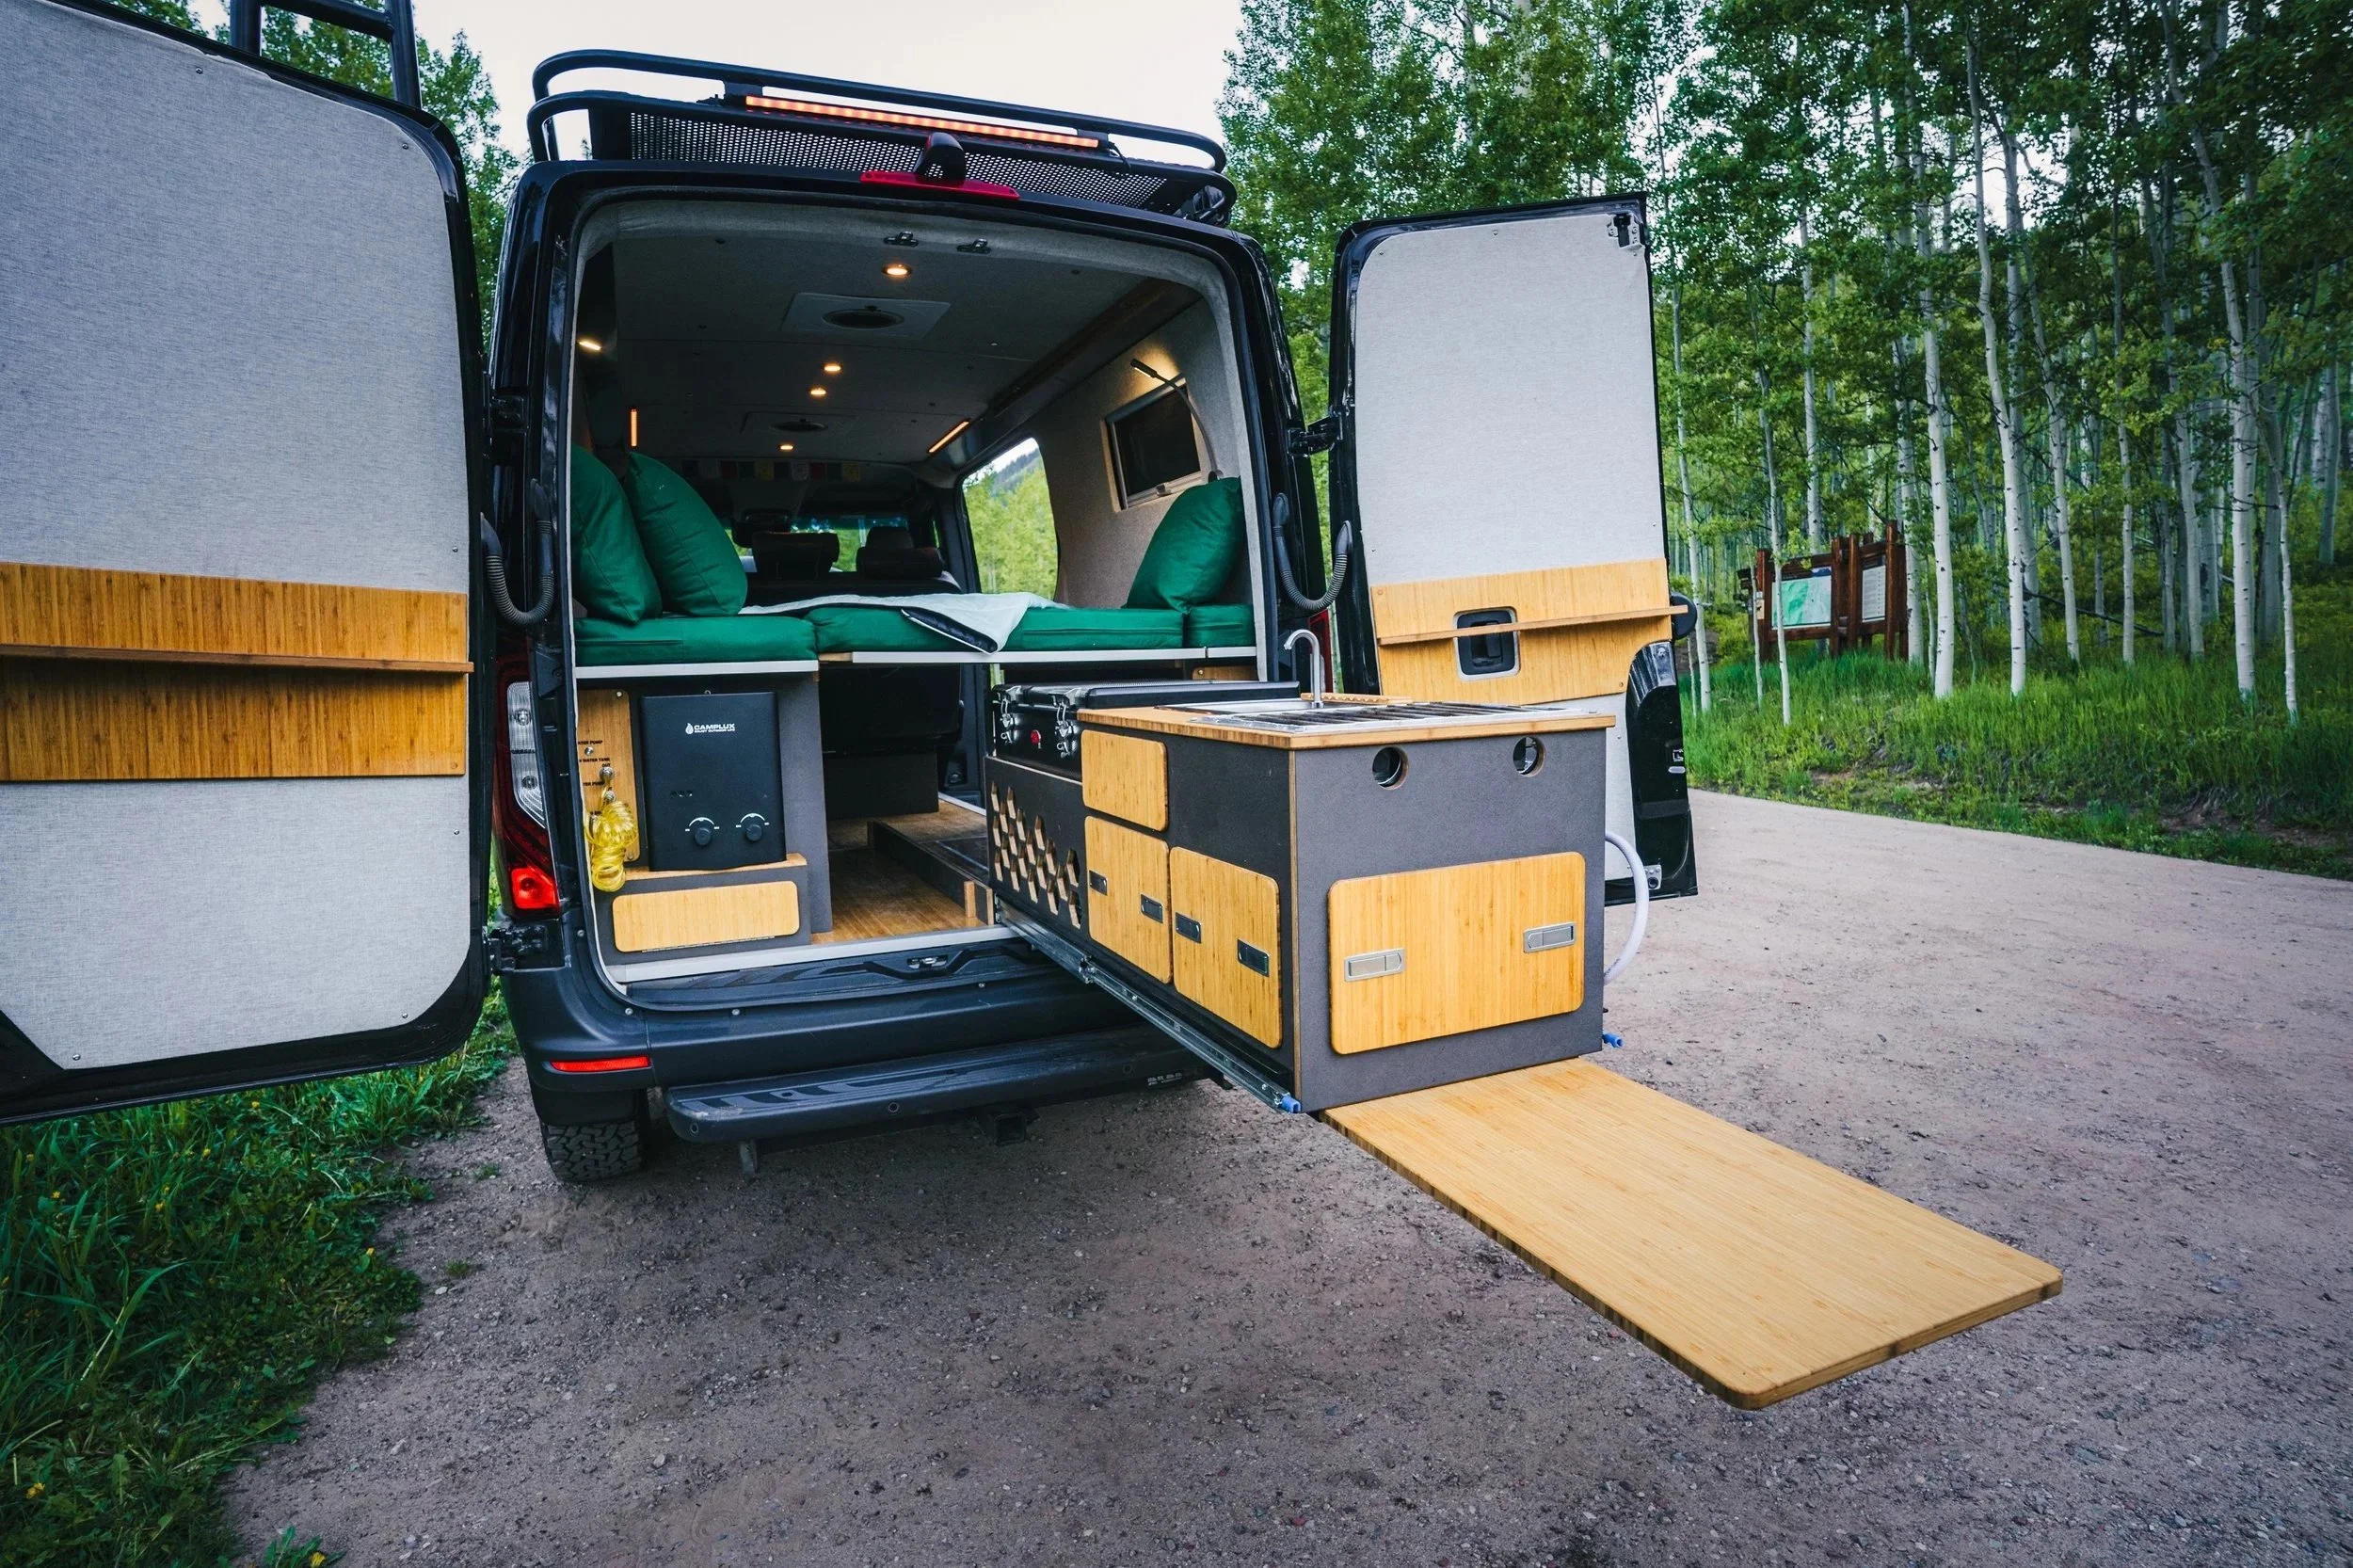
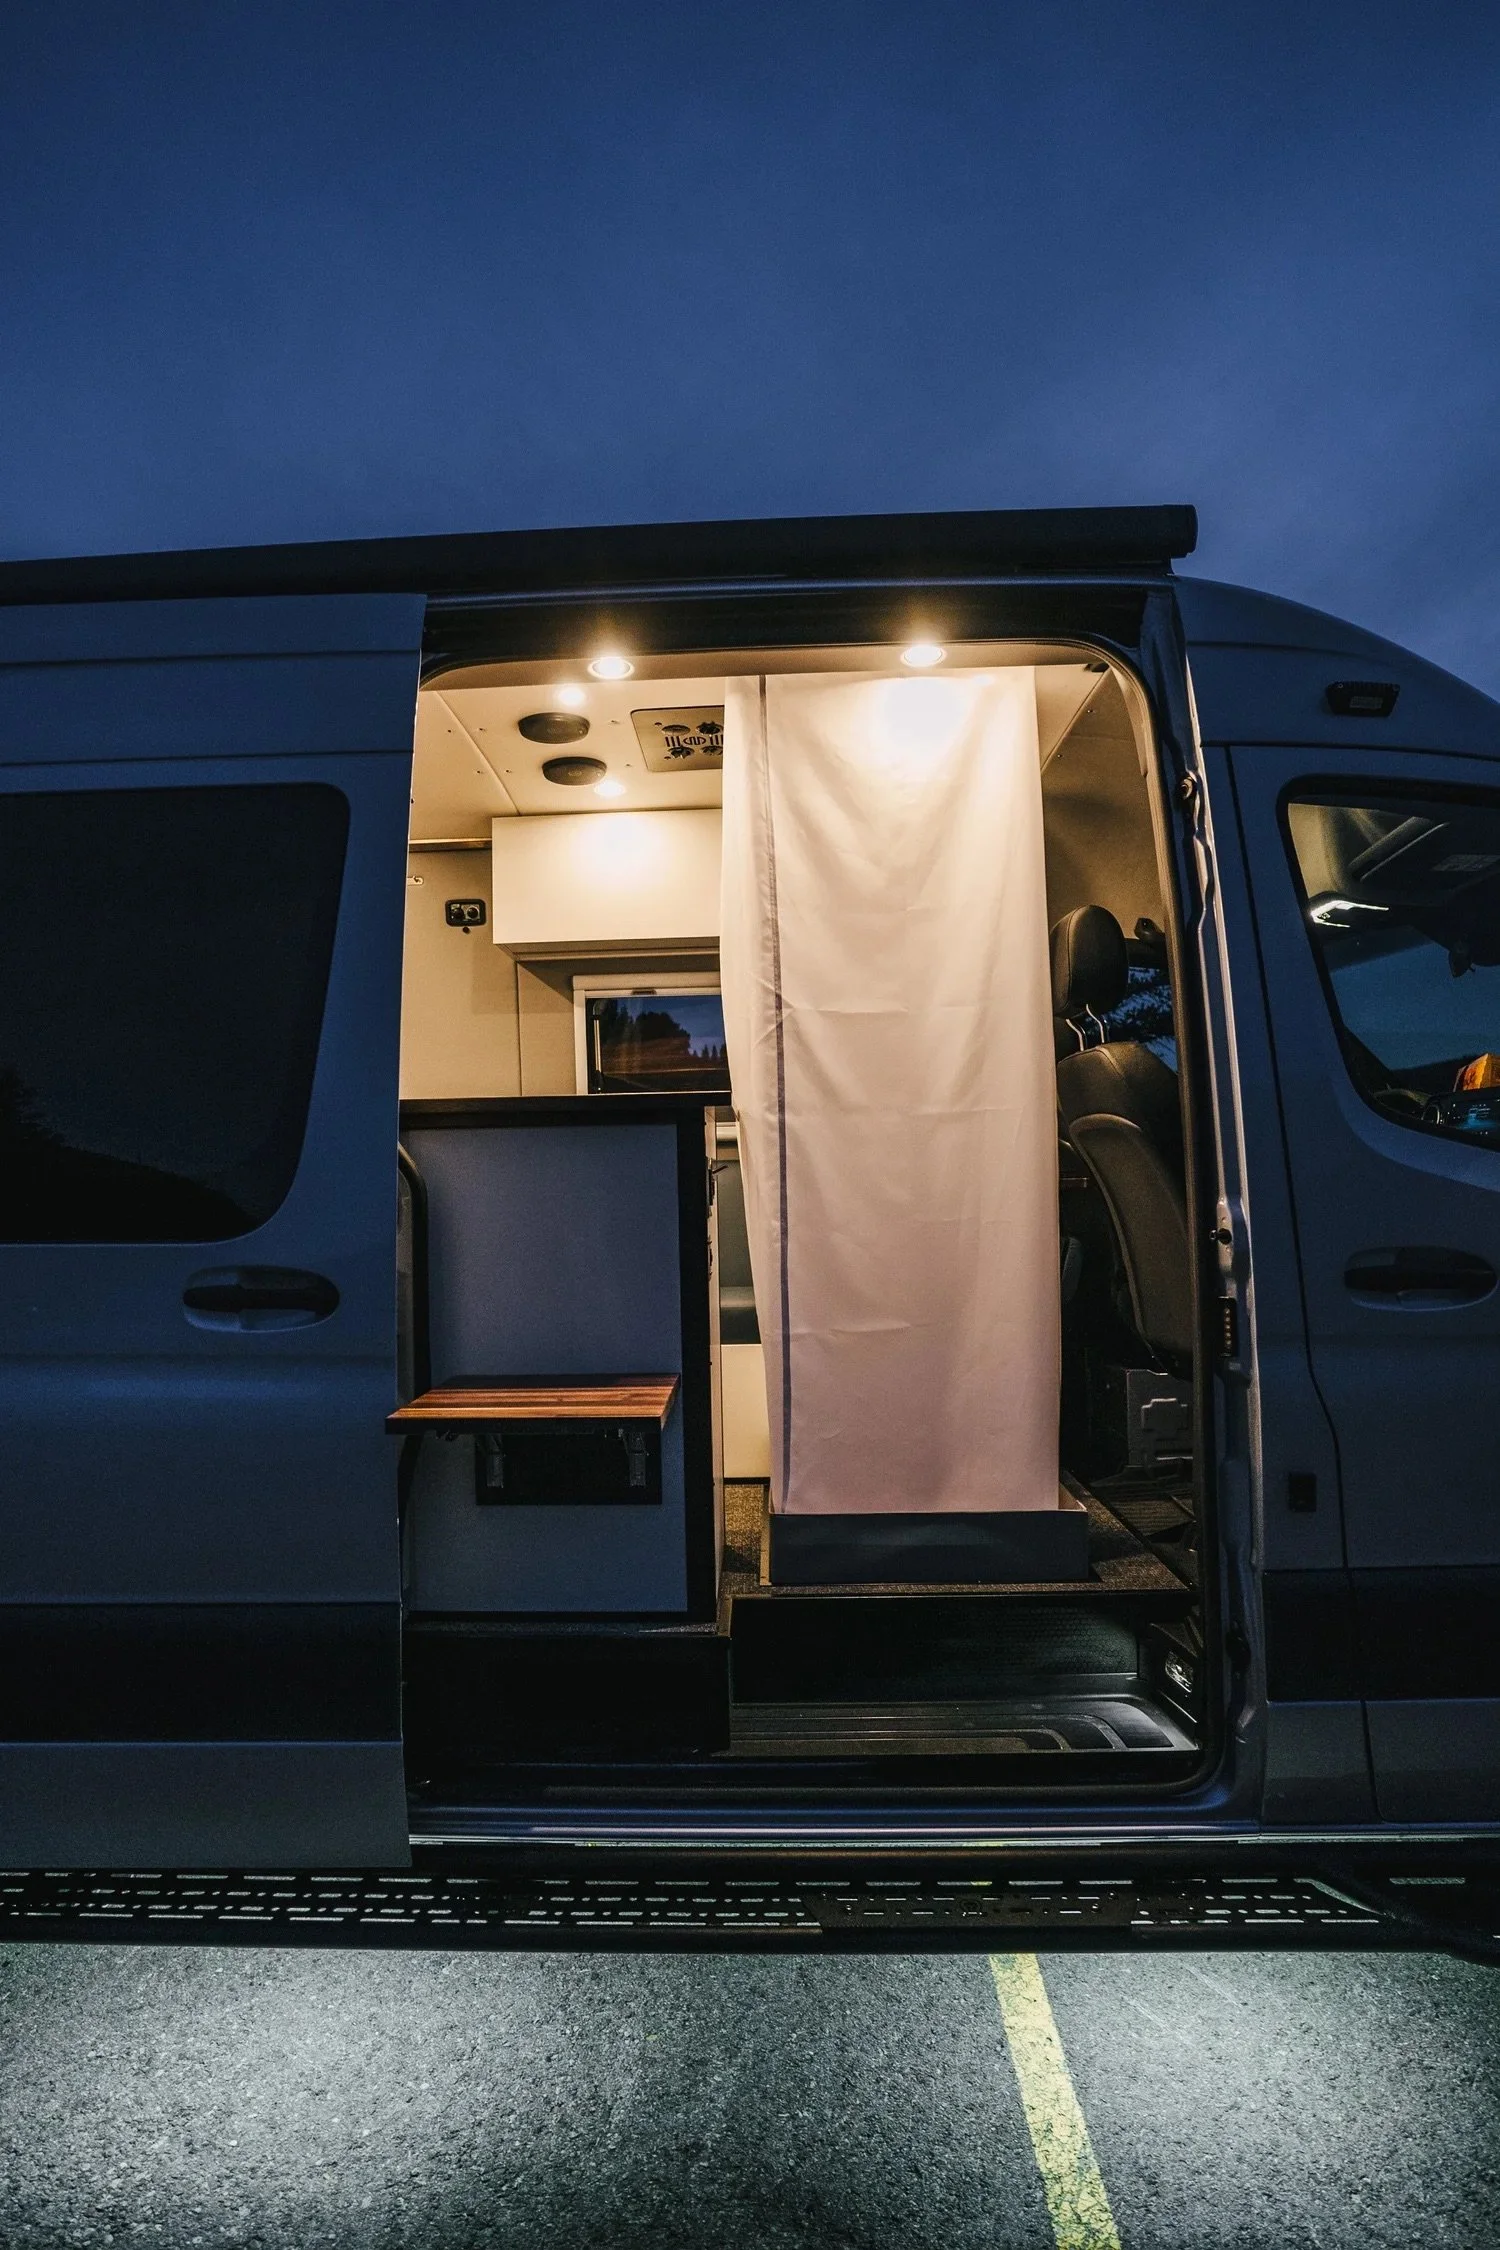
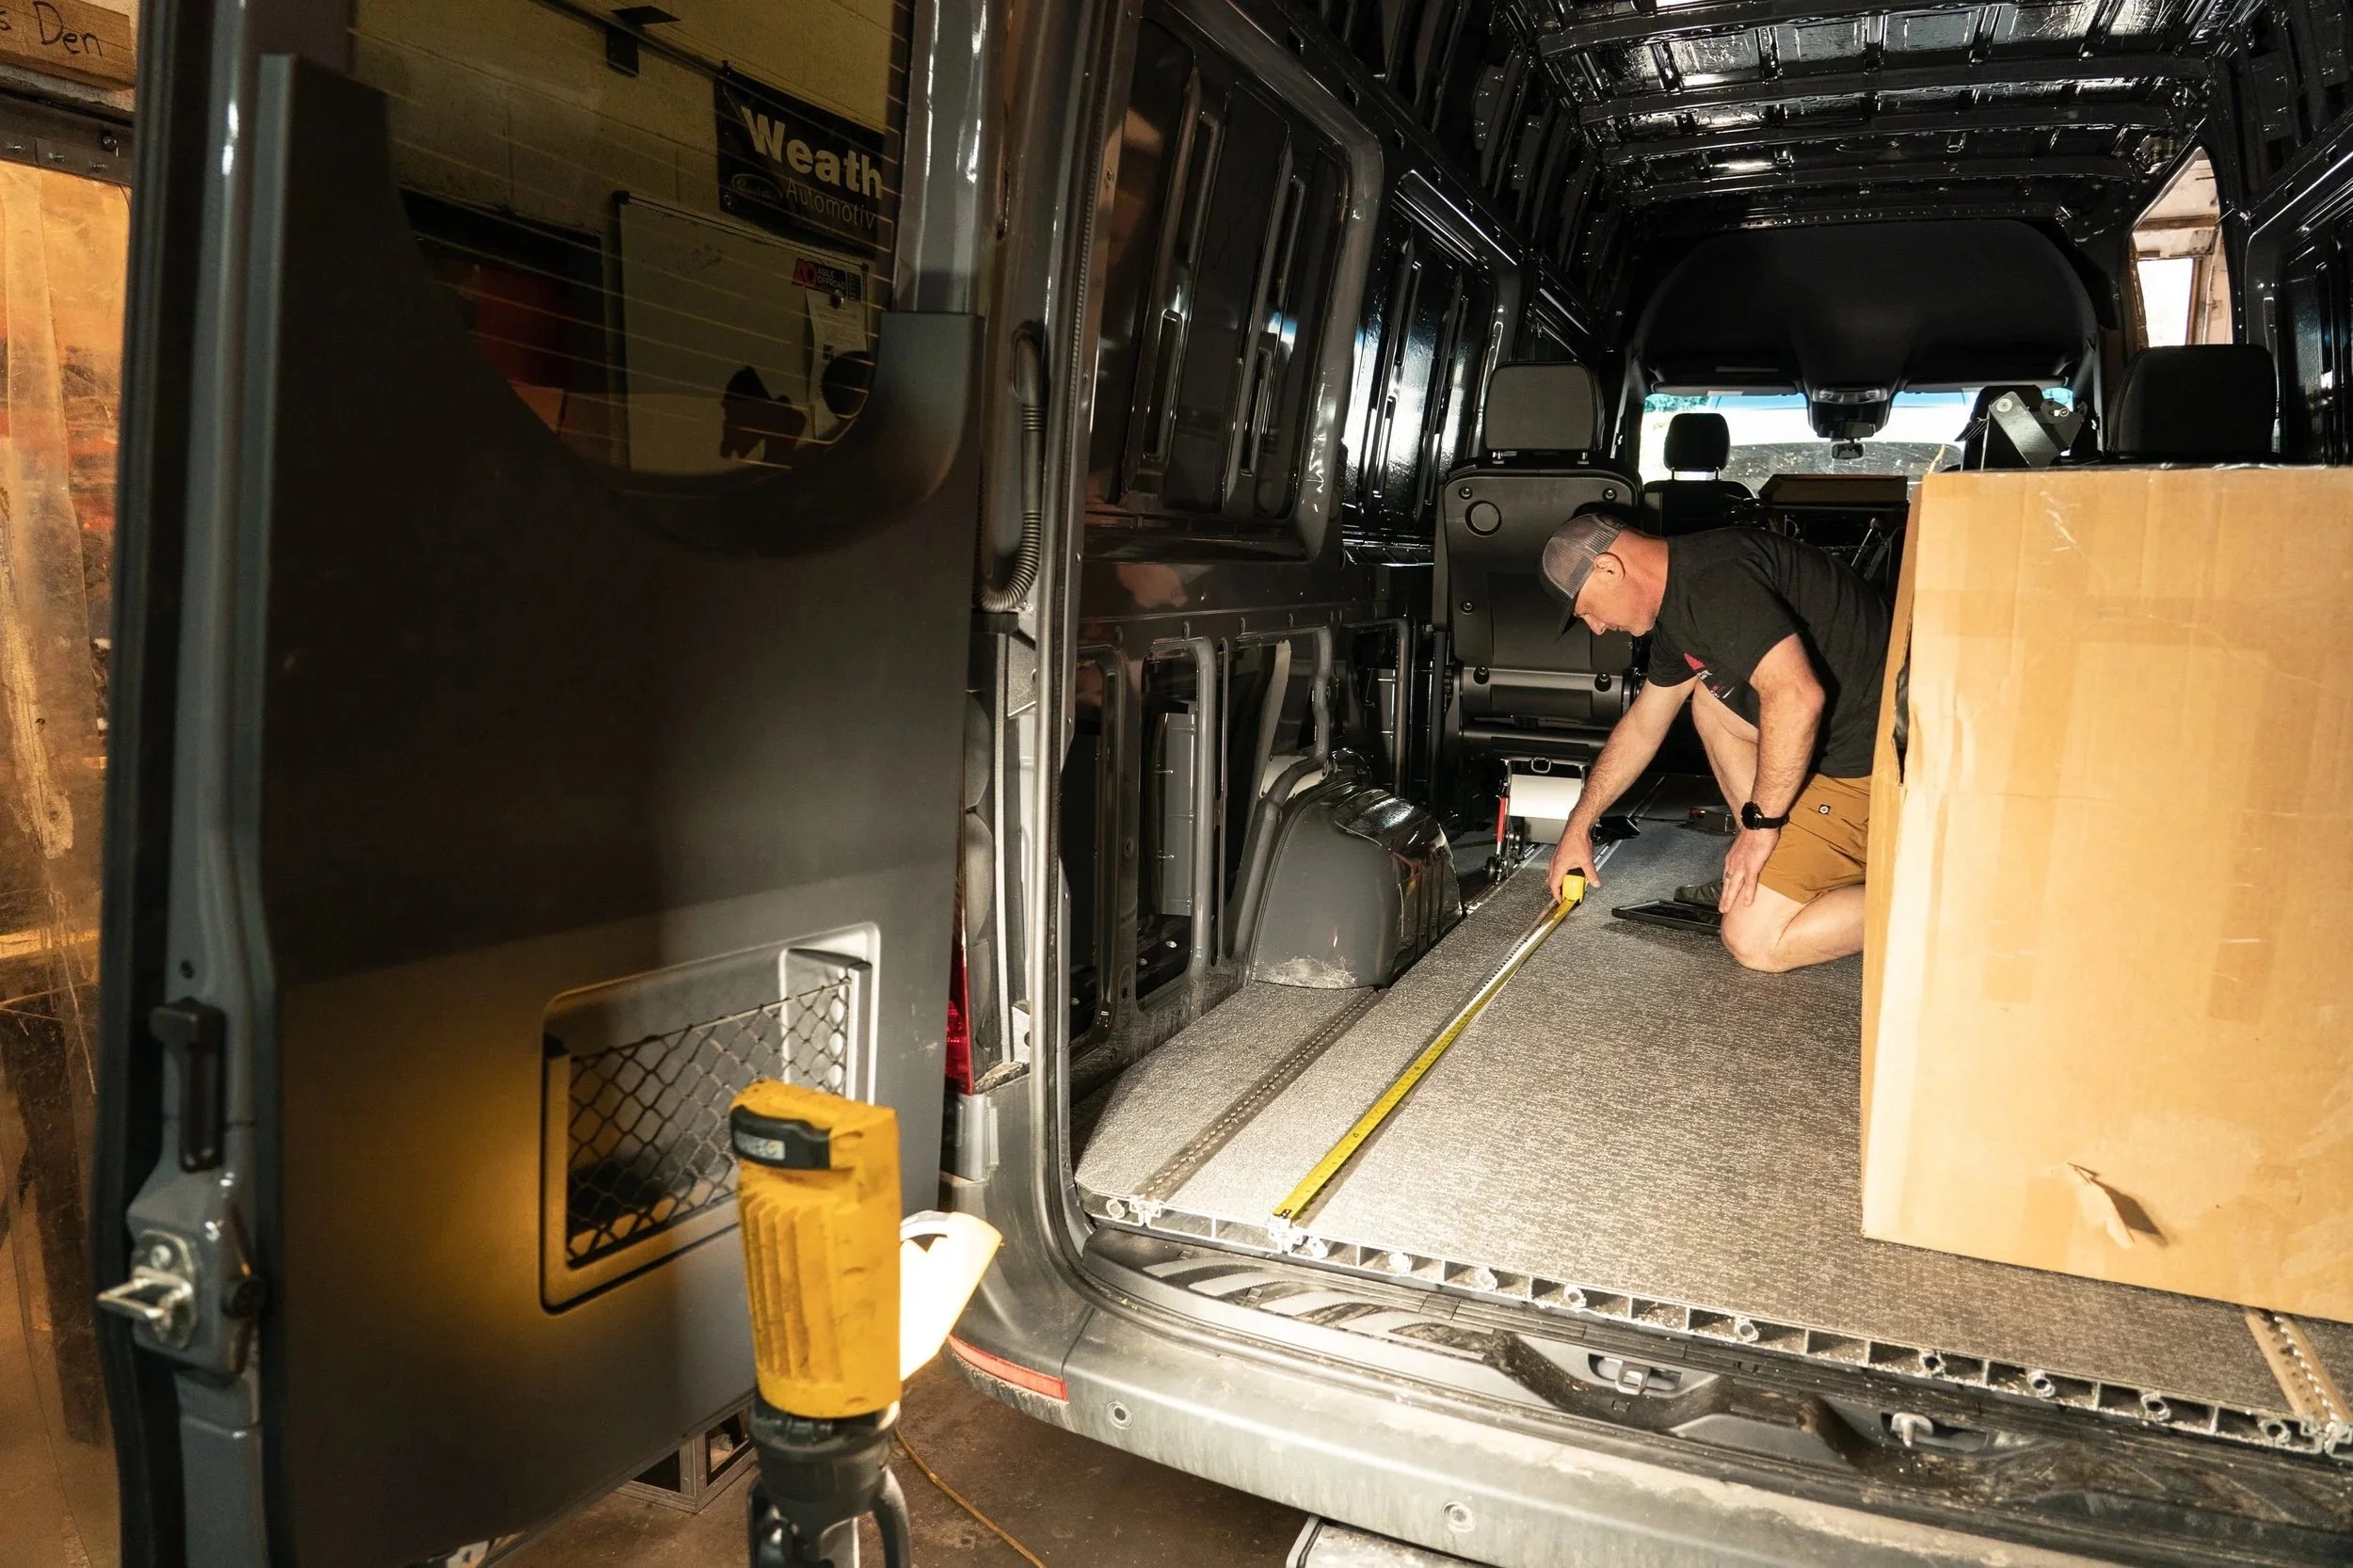
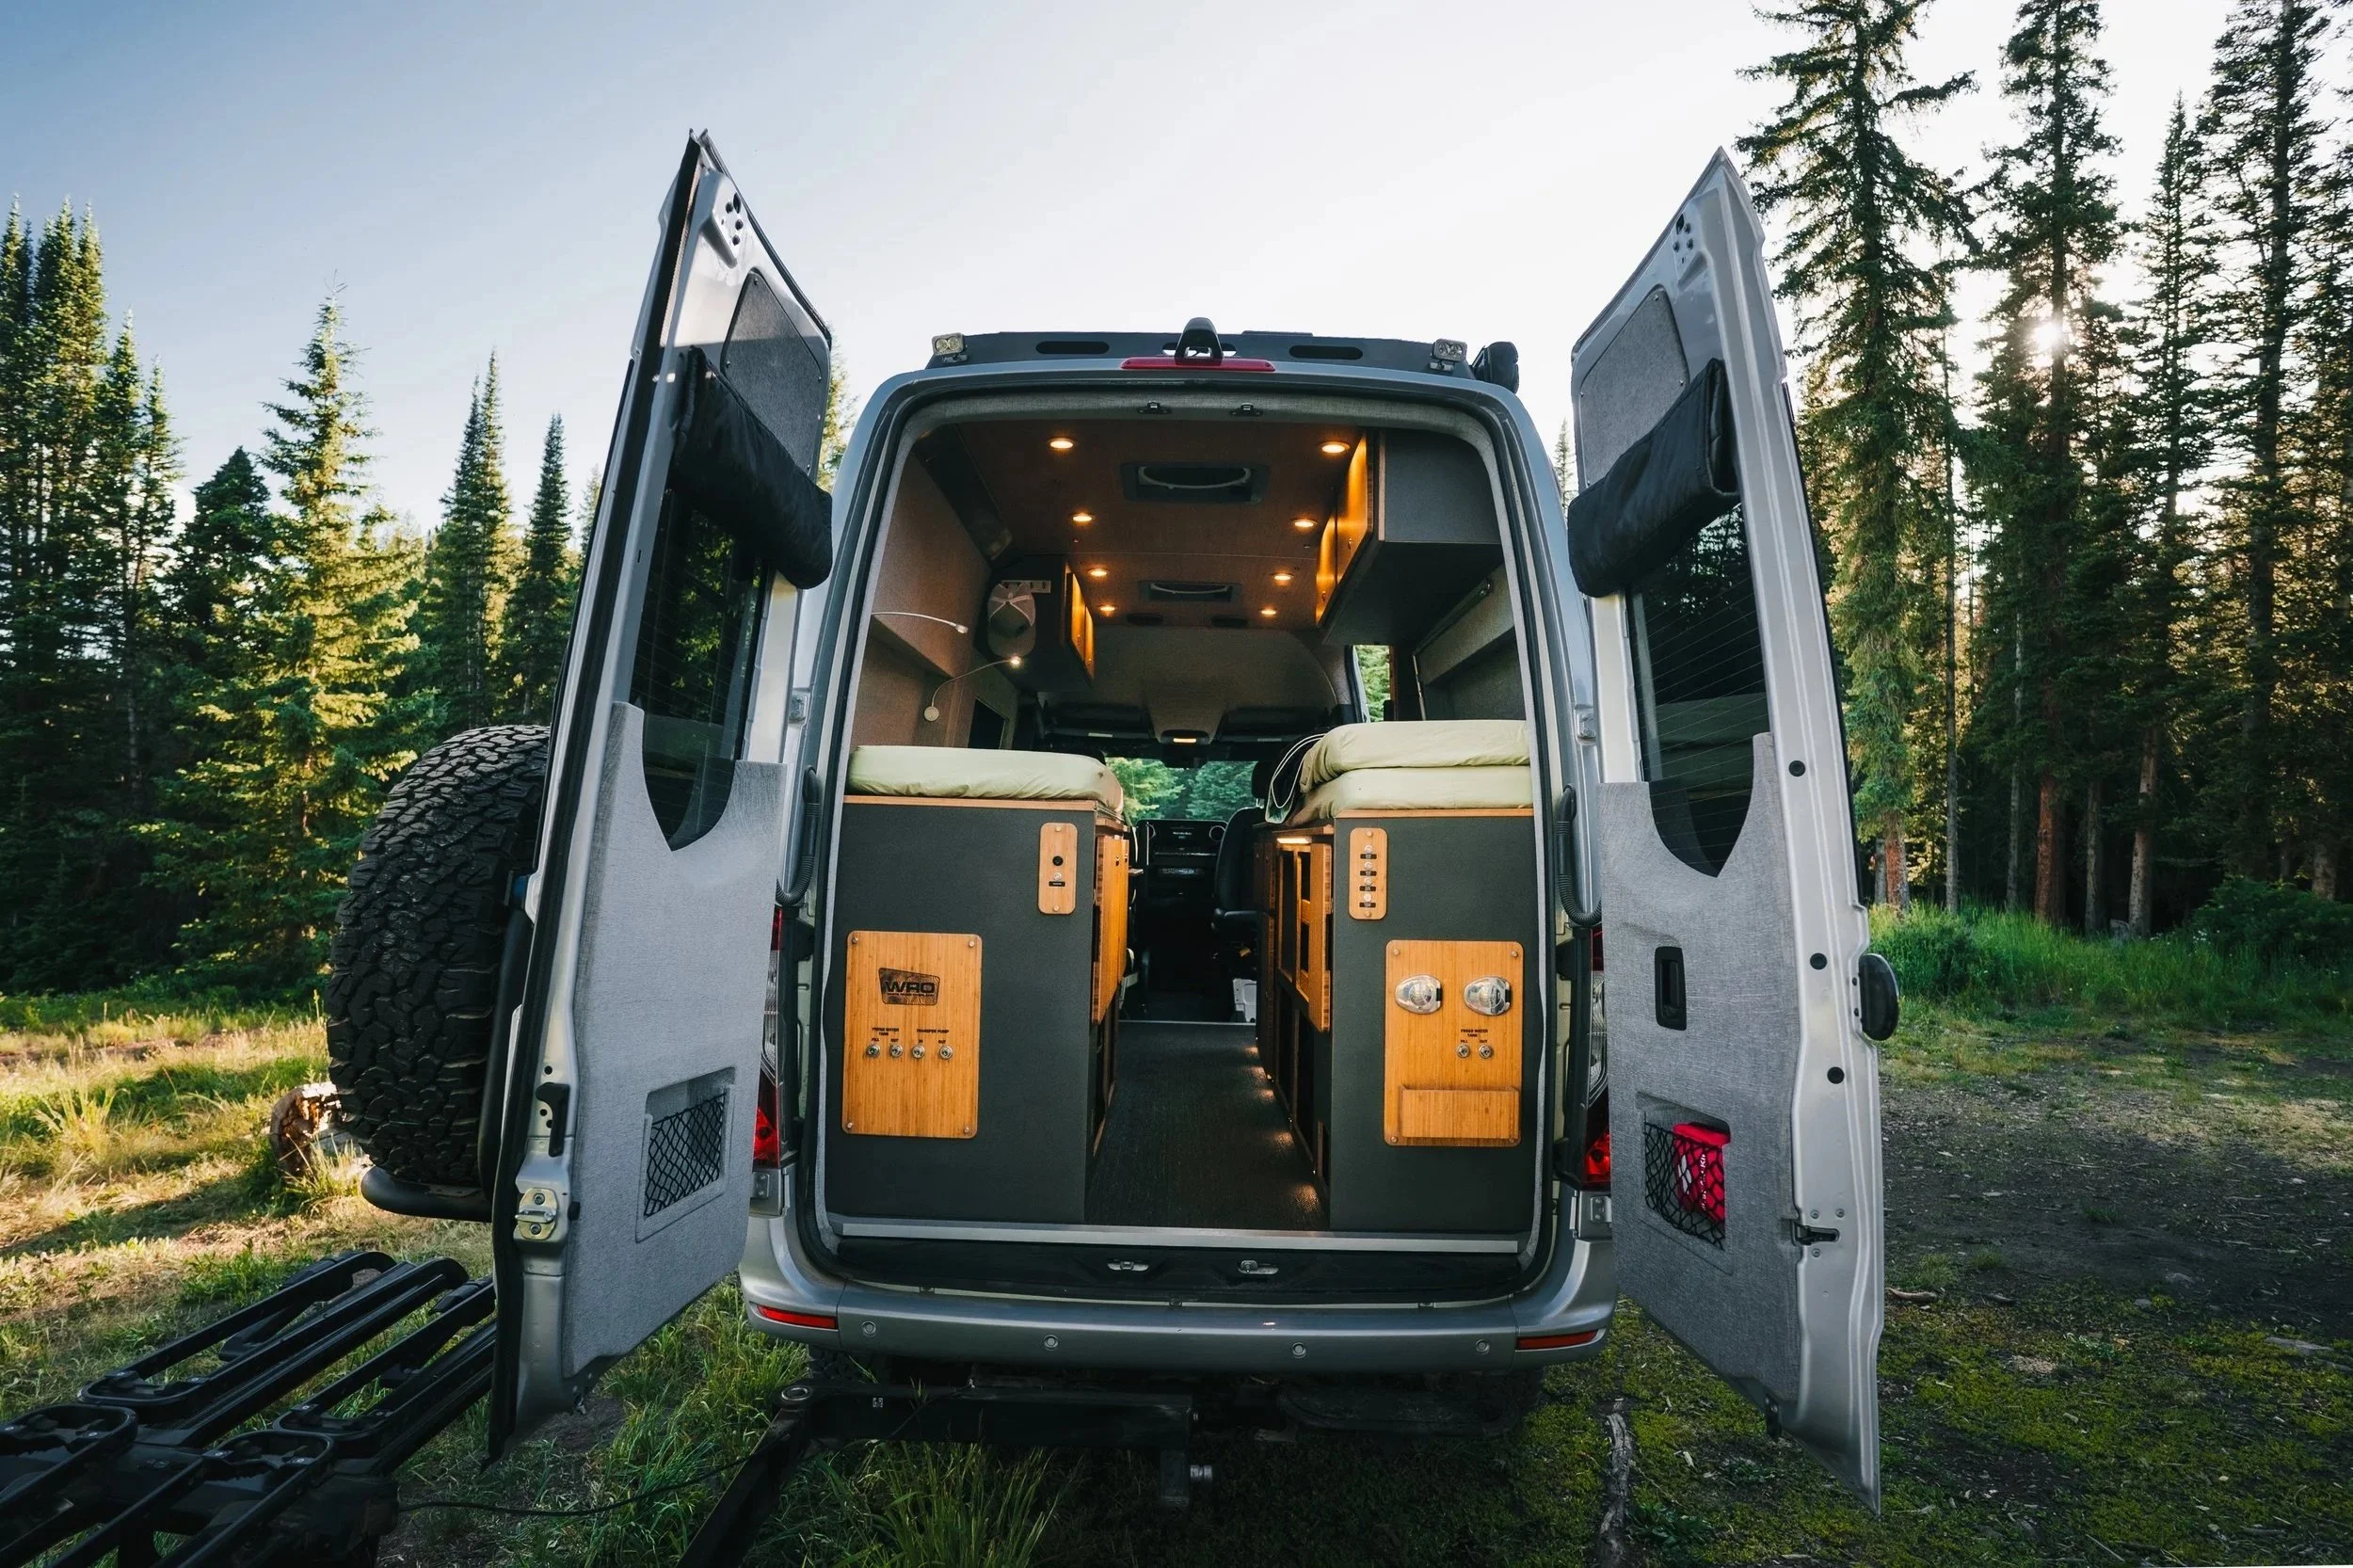
3. Plan the Interior Layout and Flow
Once you’ve chosen the right van platform for your needs, the next step is dialing in the layout. This is where a build goes from an idea to a van that is catered to you. We specialize in designing layouts around real-life travel in Colorado and the West, where you’re using the van in changing weather, tight trailhead roads, and inclement weather.
A good van layout isn’t just about fitting components. It’s about how the space feels to live in, how easy it is to use it, and how quickly you can transition from driving mode to camp mode.
Key layout decisions we help clients think through include:
Fixed bed vs convertible bed systems, based on how often you’ll use the van and how much open floor space you want during the day
Seating requirements, including safe, seatbelted travel seating and comfortable lounging when parked
Galley placement and cooking workflow, including appliance footprint, fridge access, counter space, and where items live when you’re actually cooking
Gear access and storage flow, especially for skis, bikes, fly fishing gear, recovery equipment, and bulky seasonal items
Interior walkway and headroom clearance, so the van doesn’t feel cramped and you can move without constant shuffling
A smart layout prioritizes daily usability (easy gear access, non-cramped movement, and practical storage). This is also where thoughtful custom cabinetry and modular storage make a major difference, because they allow your van to evolve as your needs change over time.
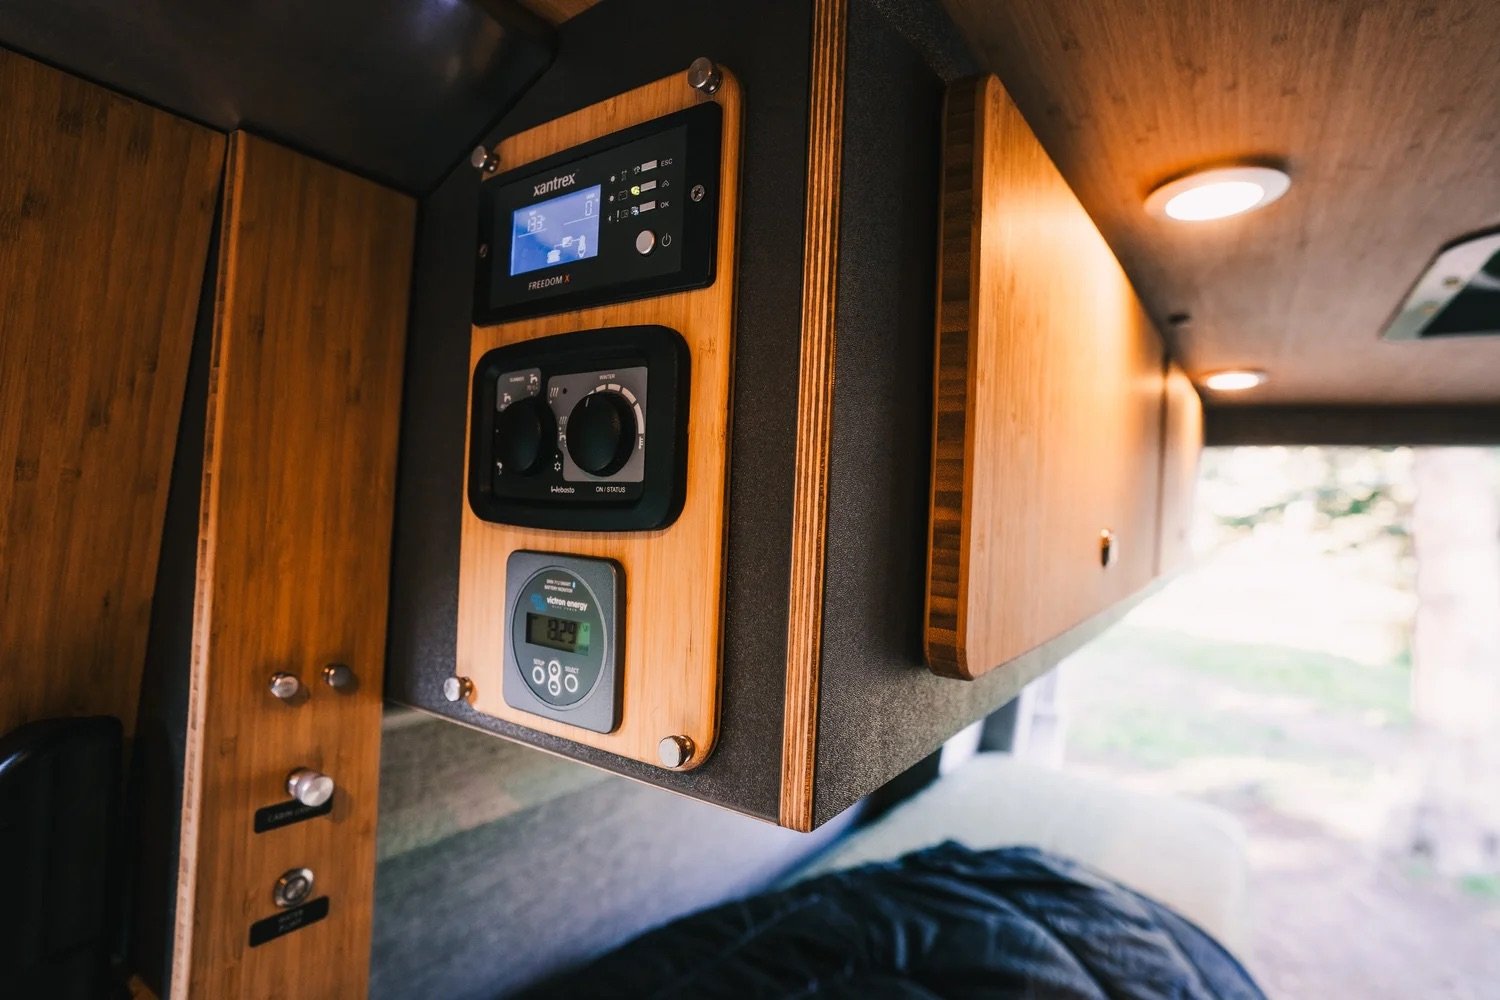
4. Design the Electrical and Power System
Once your layout is defined, the next system to plan is your electrical and power system. At White River Overland, we view electrical as the backbone of the build, because nearly every modern comfort in a camper van depends on it.
Rather than guessing at battery size or solar capacity, we help clients architect electrical systems around real use, including:
How many days you want to stay off-grid
Power needs for appliances and devices (while all are running)
Charging sources such as solar, alternator charging, and shore power
Battery capacity sized to actual usage
Future expandability as your travel style evolves
One of the most common mistakes we see is under-sizing the electrical system, which often leads to limited functionality or expensive retrofits later. Electrical components are difficult to change once a van is built, making early planning critical.
Our approach focuses on safe, reliable, and serviceable electrical systems that support everything from simple weekend travel to four-season use and remote work. When power is planned correctly from the start, the rest of the van simply works smoothly.
5. Climate Control and Insulation Strategy
If your van isn’t comfortable, you won’t use it as much, it’s as simple as that. Climate control and insulation directly impact how often you travel, how long you stay out, and how enjoyable the experience is. This is one of the first systems we help clients dial in, because it affects nearly every other part of the build.
Key considerations include:
Insulation type and thickness, tailored to weight, sound dampening, and thermal performance
Heating and cooling needs, whether that’s a heater, air conditioning, or a true four-season setup
Roof fans and window ventilation strategy, critical for airflow, condensation control, and summer comfort
Cold-weather vs hot-weather travel priorities, based on where and when you plan to use the van
Four-season camper vans require thoughtful insulation and airflow design. Cutting corners here often leads to condensation issues, temperature swings, and excessive energy use, problems that are difficult to correct once a build is complete.
For this reason, we focus on proven, vehicle-specific solutions, including 3M Thinsulate insulation, Webasto heaters, and Nomadic Cooling systems, chosen for their reliability, efficiency, and performance in mountain environments like Aspen. Planning climate control early ensures your van stays comfortable across seasons, and who doesn’t want that?
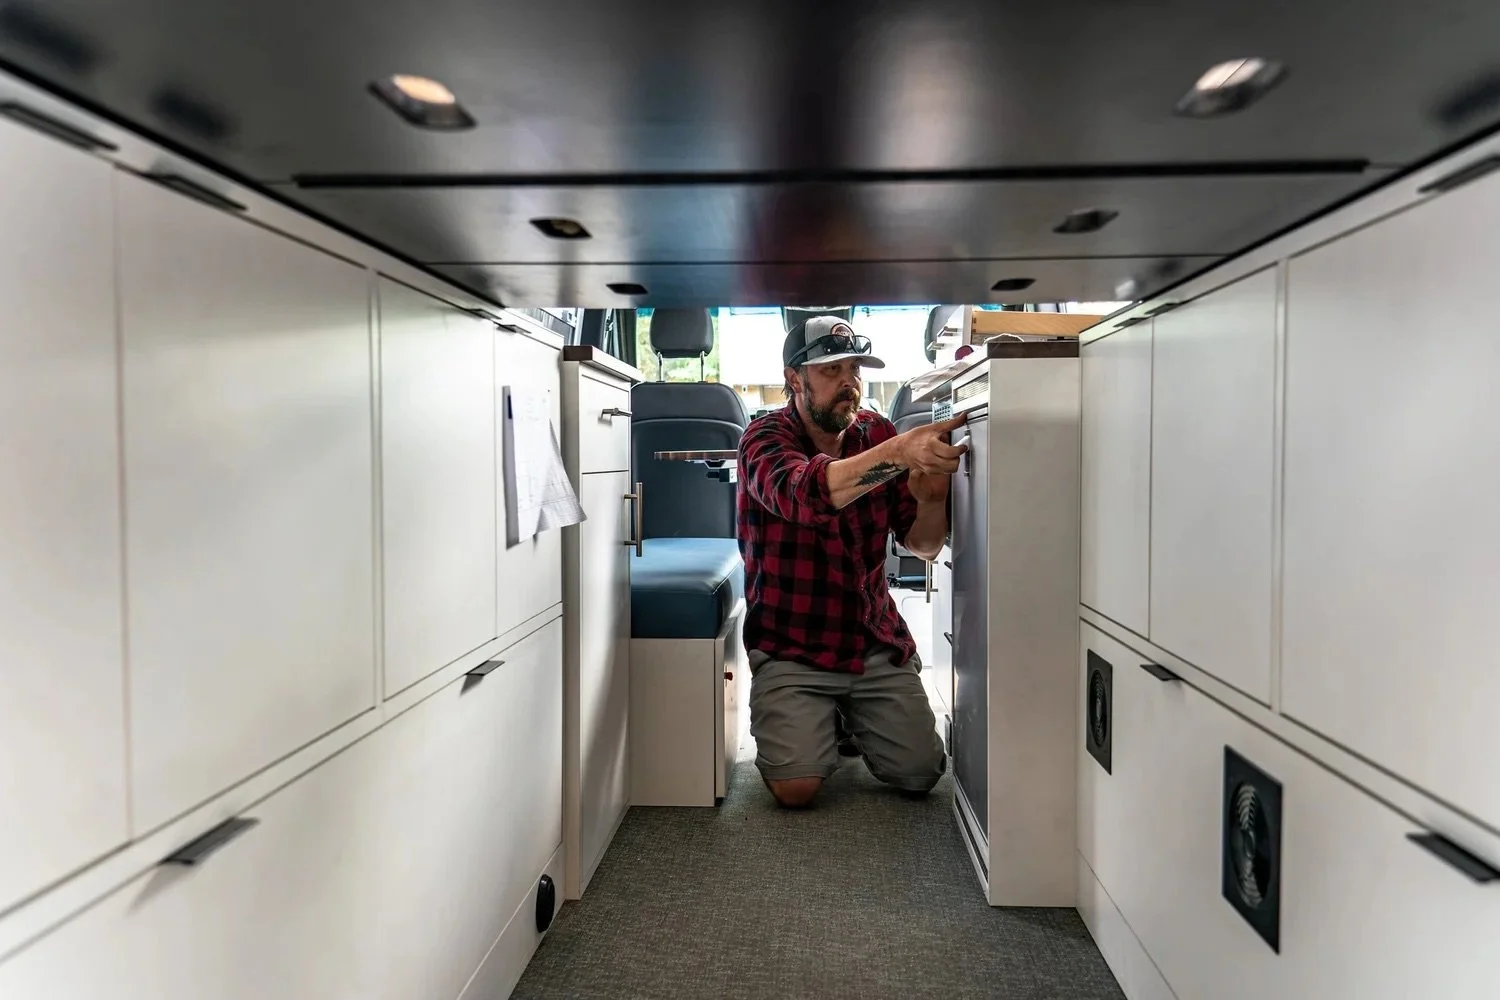
6. Storage and Gear Planning
Storage is one of the most overlooked parts of van build planning, but in mountain towns like Aspen, it’s one of the most important. At White River Overland, storage design is where the van starts to reflect your outdoor lifestyle, from early-morning ski laps to summer bike days and fly fishing outings.
This phase allows us to understand what gear you carry, how often you access it, and how to store it securely without turning the van into a cluttered gear closet.
When planning storage, we account for:
Seasonal gear, including skis, snowboards, boots, helmets, bikes, waders, and fly rods
Recovery gear and tools, built into dedicated, easy-access locations for backcountry travel
Kitchen equipment and food storage, designed for quick trailhead meals or longer trips
Clothing and personal items, layered for changing weather and variable conditions
Kids or pet gear, when applicable, without sacrificing usable interior space
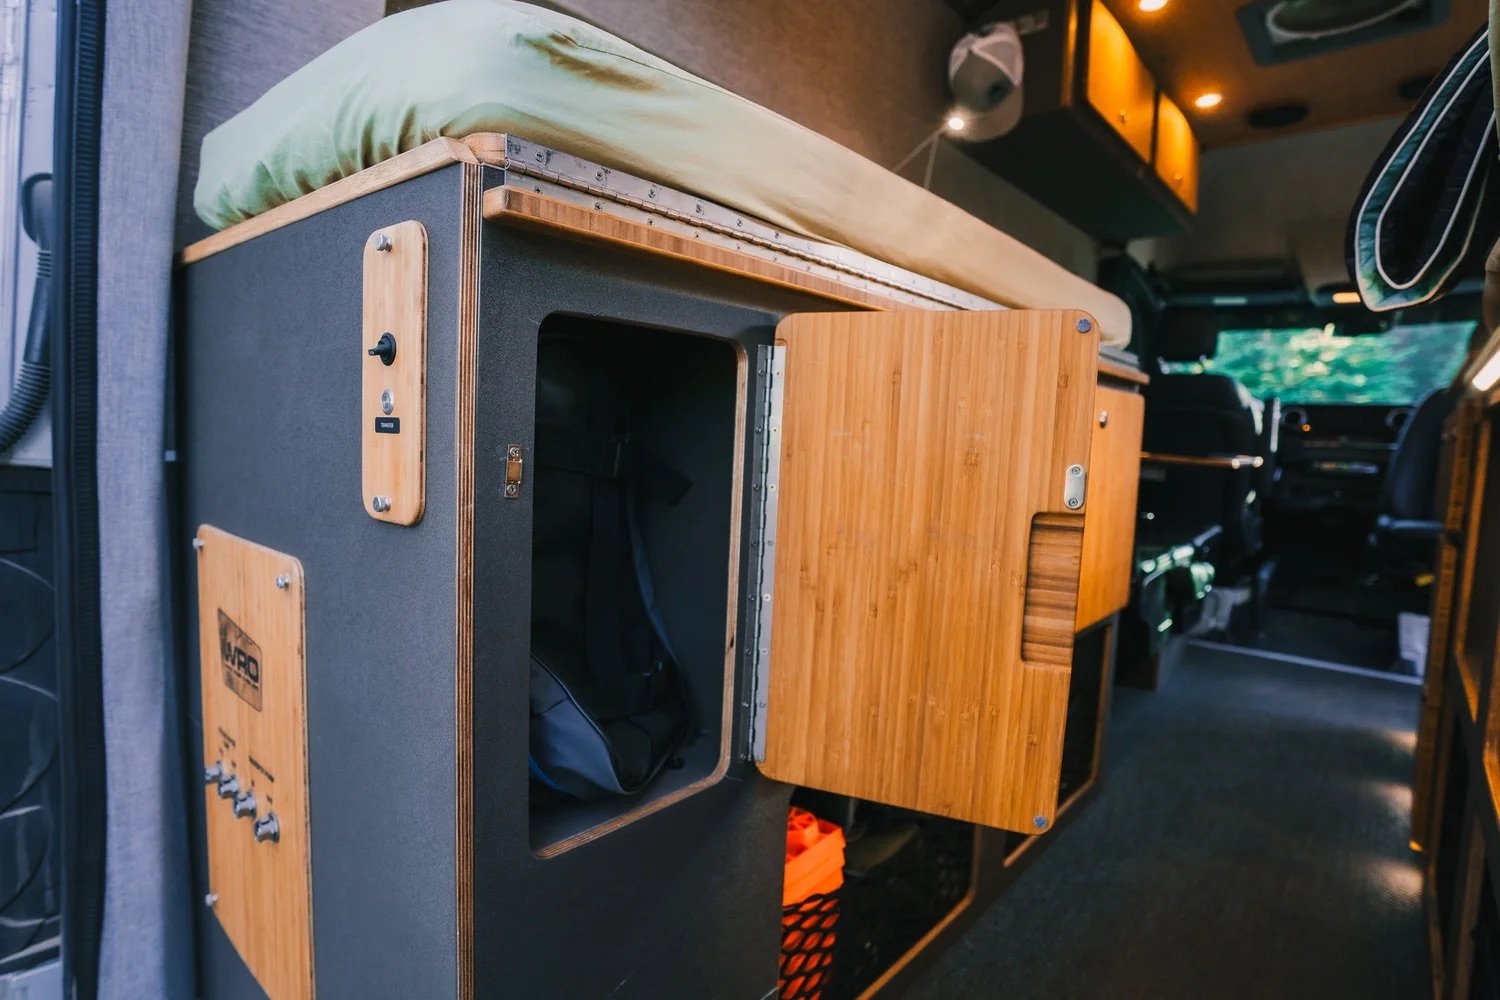
The best camper van storage solutions for mountain travel are modular, durable, and easy to live with. Gear needs change with the seasons, and a well-designed van should adapt without requiring a full rebuild. Our approach focuses on custom cabinetry and flexible storage systems that keep equipment protected, accessible, and ready for the next adventure.
For a real-world example of how modular storage supports a mountain lifestyle, check out one of our completed builds in the gallery or watch our modular van build walkthrough to see these solutions in action.
7. Choose Materials Built for Hard Use
A camper van is not like a house. It’s a constantly moving, vibrating, and temperature-changing environment. Materials that work well in a home often fail on the road, which is why material selection is such a critical part of a long-lasting van build. That’s why it’s important that material choice is made with durability, weight, and real-world mountain use in mind.
When selecting materials, we prioritize options that are:
Lightweight, to preserve payload capacity and driving performance
Vibration-resistant, to reduce squeaks, rattles, and long-term failures
Moisture-tolerant, especially important for snow, wet gear, and condensation
Serviceable and repairable, so components can be maintained or updated over time
Using durable, vehicle-appropriate materials improves longevity, minimizes issues, and makes future modifications far easier. Smart material choices are one of the biggest factors in long-term functionality with a custom camper van build.
For cabinetry, panels, and structural components, we rely on proven materials such as laminated birch plywood, LitePly, bamboo, beech, and aluminum which are chosen for their strength-to-weight ratio and performance in demanding environments. To see how these materials are used in real builds, check out our short video covering common materials we use.
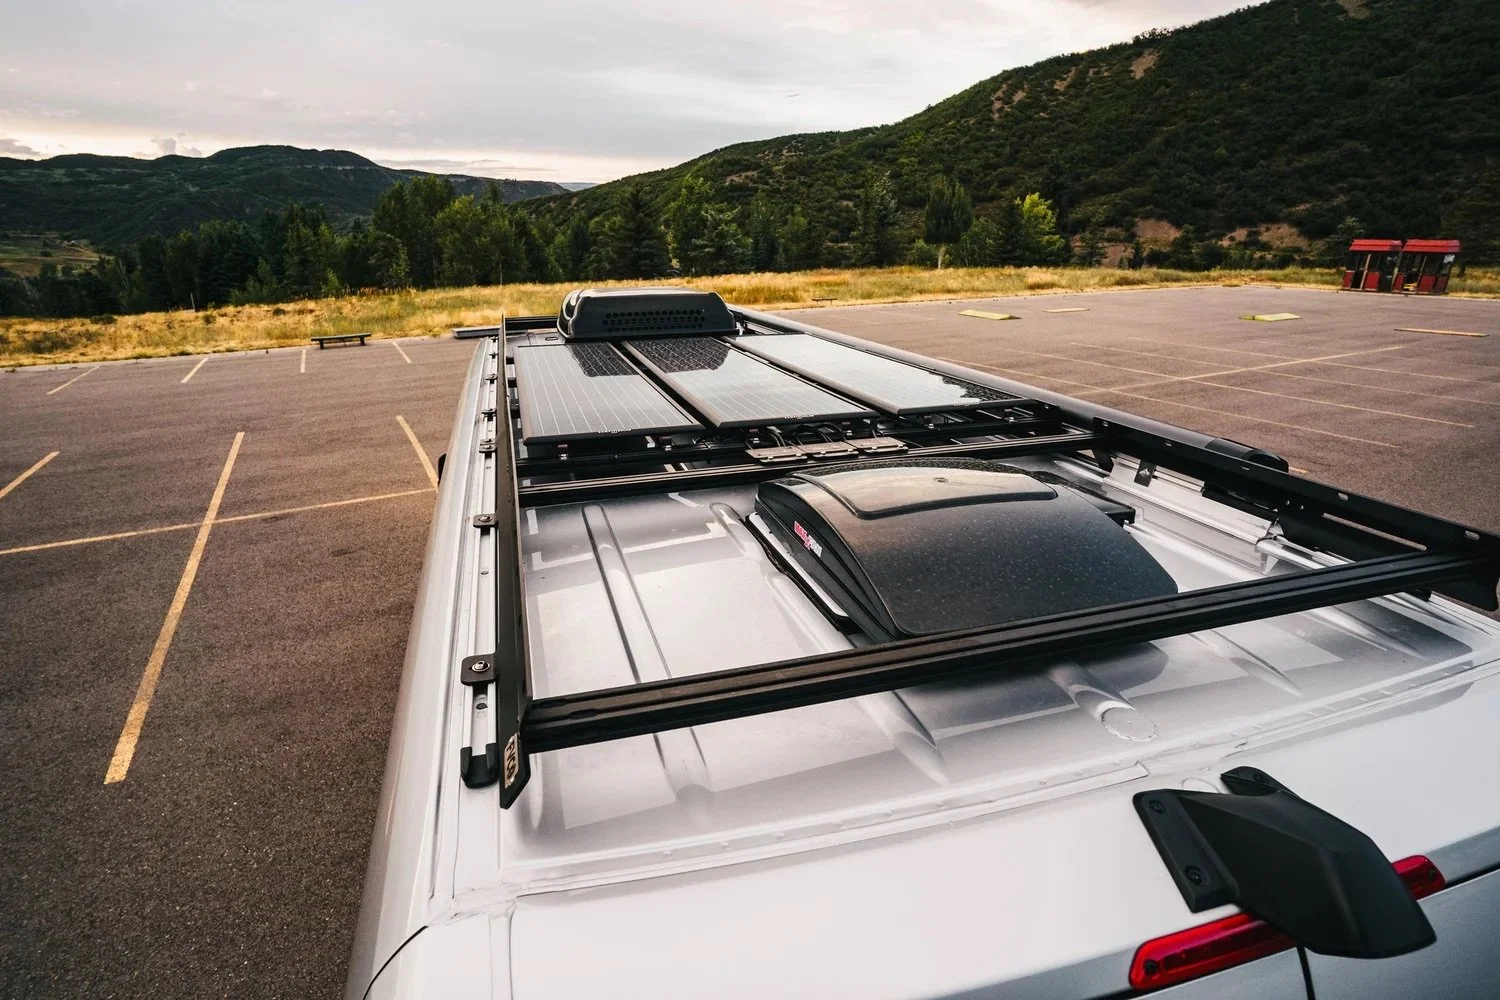
8. Plan Exterior Accessories with the Interior in Mind
Exterior upgrades often influence the interior of a van far more than most people expect. For that reason, we plan exterior systems early in the build process so structural mounting, wiring, and weight distribution are handled correctly from the start, not retrofitted later.
When planning exterior upgrades, we help clients think through:
Roof racks and solar panel layouts, balancing weight, gear carrying, and roof access
Awnings, for quick shelter at trailheads, camps, and roadside stops
Tire and wheel upgrades, matched to terrain, load rating, and suspension setup
Rear swing-outs and exterior storage, for bikes, skis, fuel, or recovery gear
Auxiliary lighting and recovery equipment, critical for safety and scene lighting at camp
We specialize in exterior van upgrades and overland modifications, (especially with our sister company, Cracks & Racks) and can help identify the right solutions based on how and where you travel, while recommending proven products we trust for overland use. To explore our full range of exterior upgrade capabilities and components, visit our Upgrades page to learn more.
9. Set a Realistic Budget and Timeline
The best camper van builds aren’t rushed. Thoughtful planning around budget and timeline leads to a better end result and a smoother build process.
Before starting a project, we help clarify:
A realistic overall budget
Phase-one essentials vs future upgrades
DIY work vs professional installation
Expected build timeline and vehicle downtime
Many successful camper van builds happen in phases, allowing owners to spread investment over time and refine the van based on real-world use. Fully custom builds at White River Overland typically take around 20 weeks, or roughly six months.
Product sourcing can also affect timelines, as availability of components varies. In addition, body work, paint, and vehicle wraps can add time depending on scope and scheduling. Planning for these factors upfront helps keep expectations aligned and projects on track to deliver a project that was done the right way. Quality, custom work takes time, but we promise it is worth the wait!
10. Phasing & Future-Proofing Your Build
Not every van needs to be built all at once. In fact, many of the best camper vans are designed to evolve over time. Planning for phasing upfront allows you to prioritize what you need now while keeping future upgrades simple and cost-effective.
Before committing to a build, consider:
Phase-one essentials vs future upgrades
Wiring, mounting, and structural prep that supports future expansion
Layouts and storage solutions that can adapt as gear and travel needs change
System scalability, including electrical and climate components
Long-term ownership goals, rather than short-term use only
Building with the future in mind helps avoid unnecessary rework and allows your van to grow with you. A well-phased build supports flexibility, protects your investment, and makes long-term ownership far more enjoyable.
Ready to Start Your Van Build?
Whether you’re planning a full custom camper van build, upgrading an existing rig, or looking for modular storage and electrical solutions, having a clear plan makes all the difference.
If you’d like help turning ideas into a well-engineered, durable van build, we’re happy to talk through options and help you design a system that fits your lifestyle, not just your vehicle.
Shoot us a message to start your project today!